


Baking Adventures: London Fog Crème Brûlée ☕️
Earl Grey, vanilla, sugar - what's not to love?

I recently spent some time in Vancouver, home to some beautiful nature and a seriously underrated café scene. There are so many bakeries and cafés in the Gastown neighborhood alone, all of them serving London Fog flavored items. This makes quite a bit of sense, if you consider the fact that the drink was created in Vancouver. For the uninitiated, a London Fog is an Earl Grey tea with steamed milk and a splash of vanilla. In other words, it’s a tea latte, and it’s delicious.


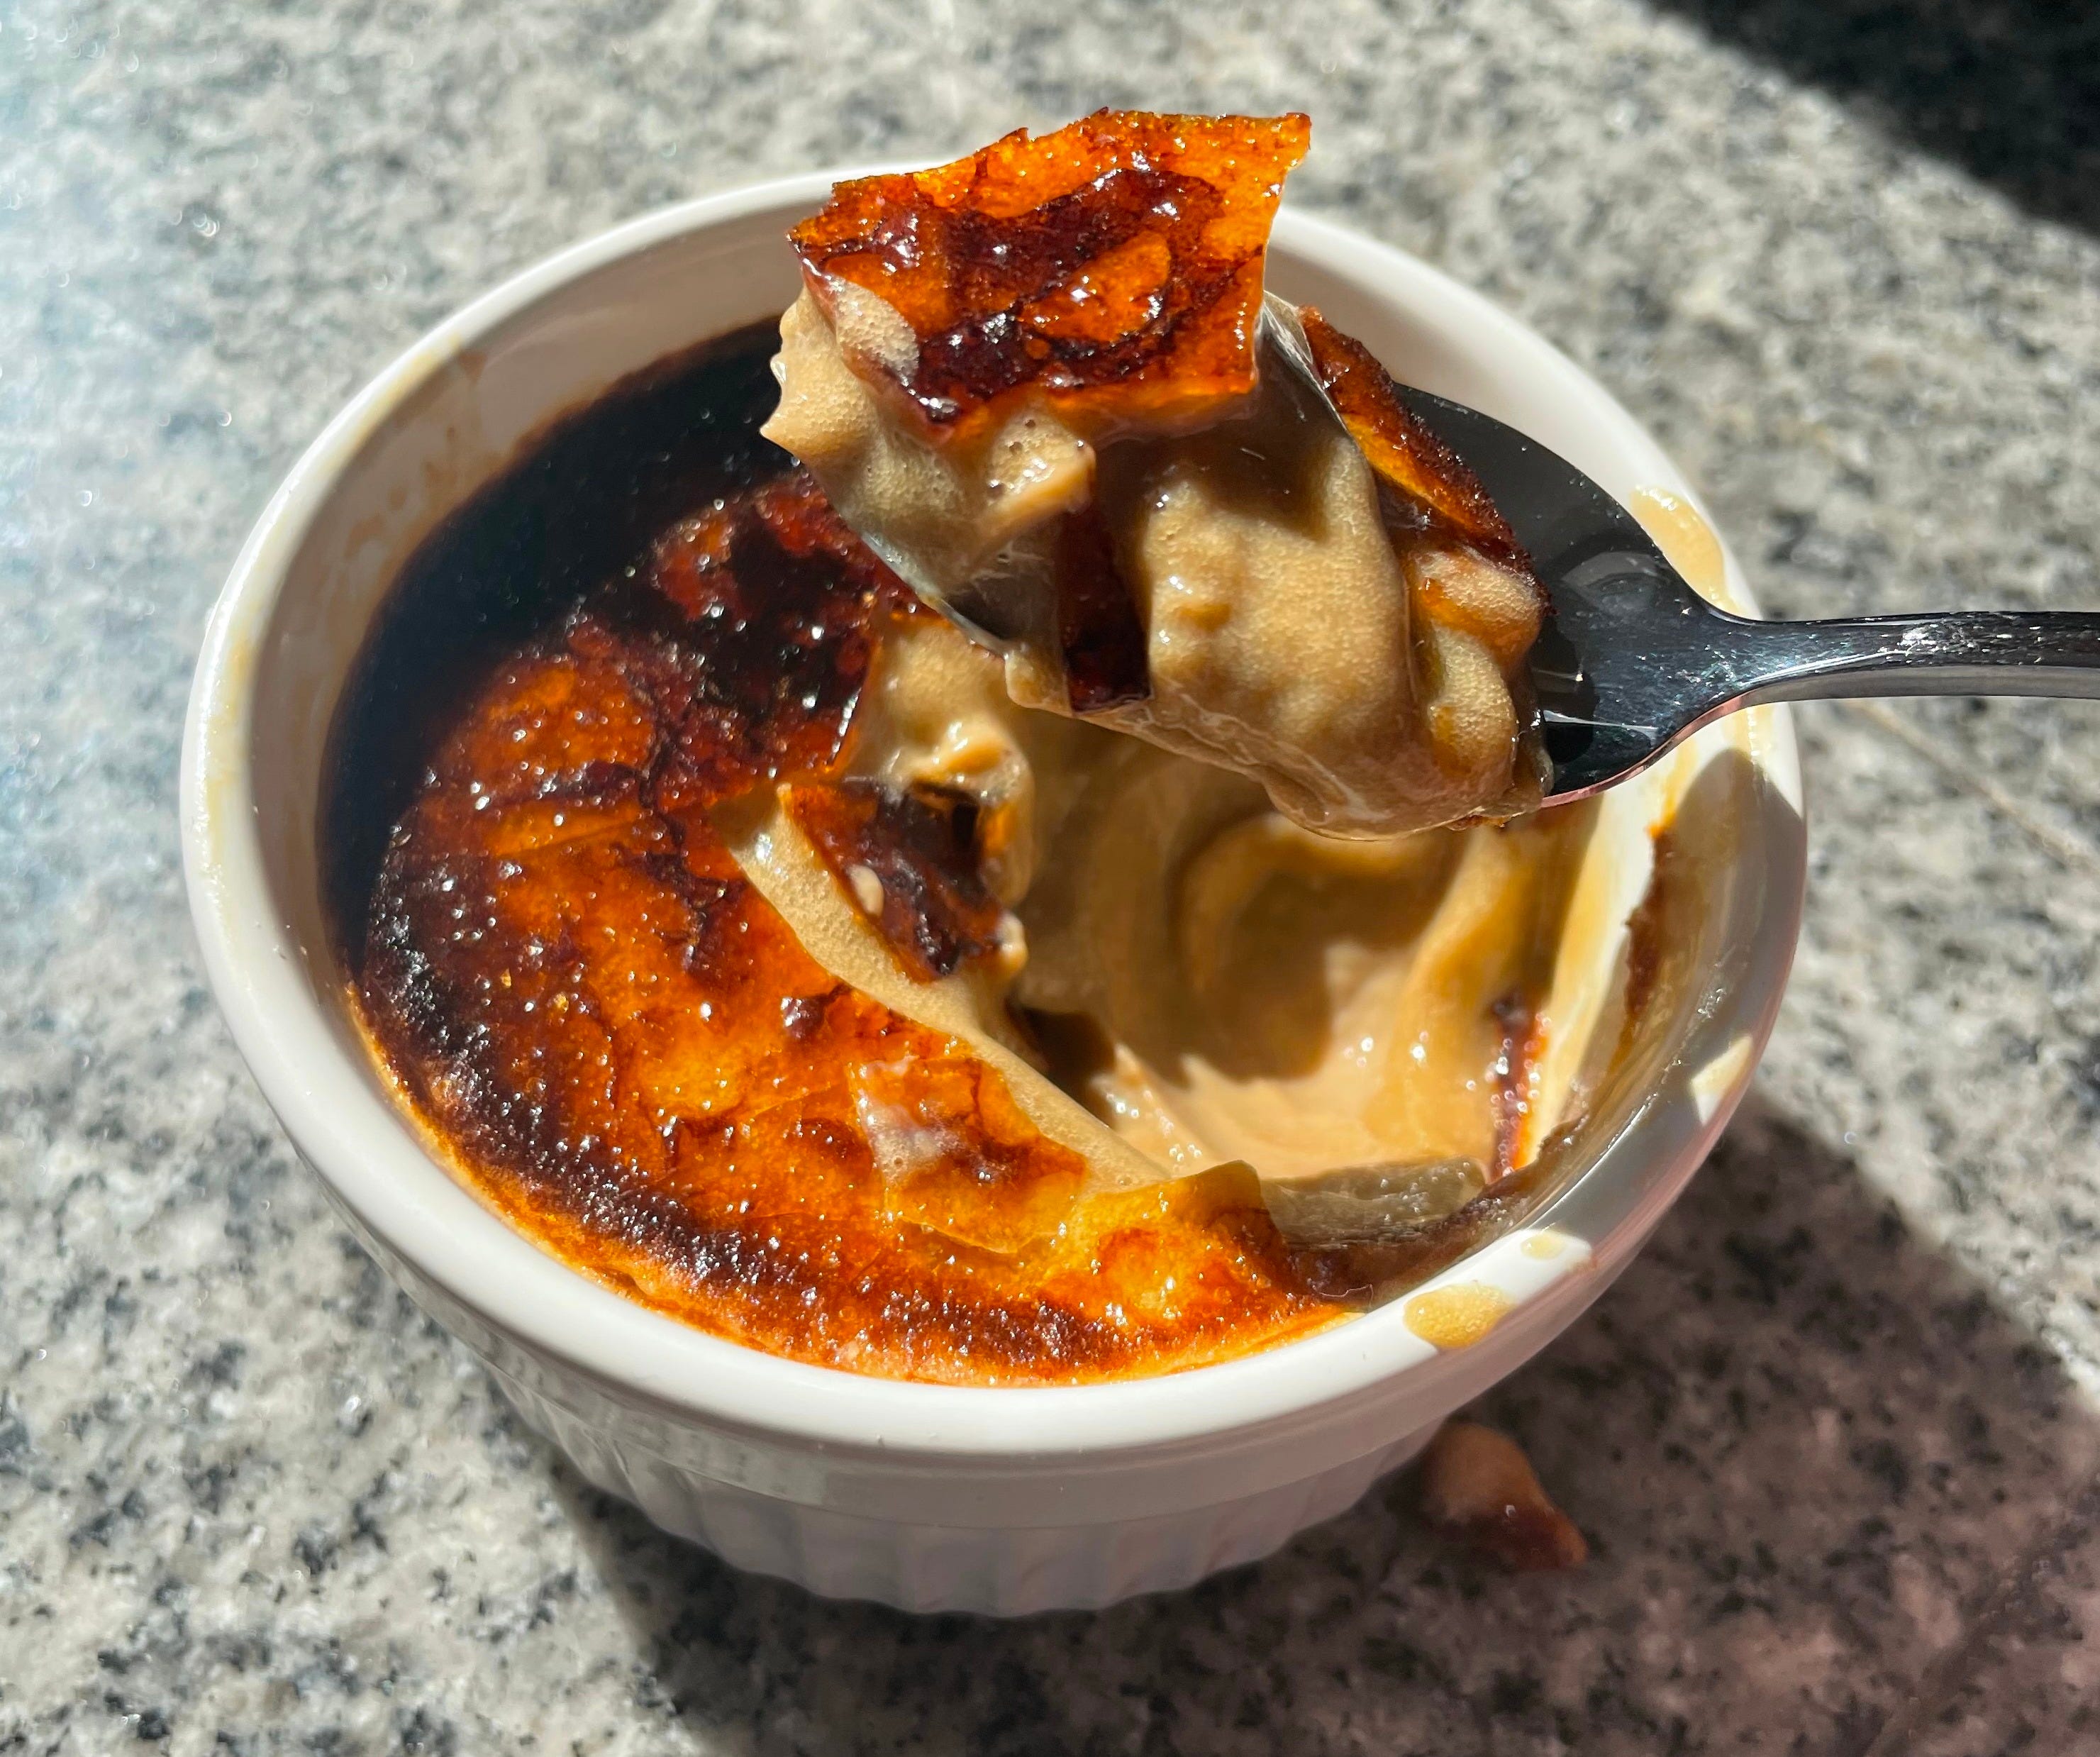
While the bakeries have some amazing pastries (see my note on some tasty finds), the best dessert I had is the London Fog Crème Brûlée located at a restaurant called Cactus Club Café. The top was perfectly crackly, and the vanilla and Earl Grey flavors were strong without being too overwhelming. The custard itself was so creamy, and it was gone within seconds. It combined two things that I loved into one dessert, and I knew I had to have it again. But instead of flying all the way back to Vancouver, I figured I’d give it a try myself.
Note: This recipe requires overnight cooling, so make sure to plan ahead!
Ingredients
2 Earl Grey teabags, or around 4g loose-leaf tea.
1 cup heavy cream
1-2 tspns vanilla extract, depending on your preference for vanilla flavor in a London Fog
3 large egg yolks
1/4 cup sugar, plus more for caramelized topping
Tools: fine mesh strainer, 9x13 baking pan, and 2 ramekins. I have ramekins about 1.5 inches high. If your ramekins are shorter, you can use a shorter rimmed baking sheet. Just make sure that your bain-marie would work (see step 5).
Directions
Pour the cream into a small saucepan on medium heat. Set the two teabags into the cream, stirring the bags with a spoon. You’ll want to continually press on the bags so they release the tea into the cream, so smoosh them down with the flat of your spoon. The warmer the cream gets, the more tea will be brewed. Heat cream until bubbles form on the edges, about 5-10 minutes.
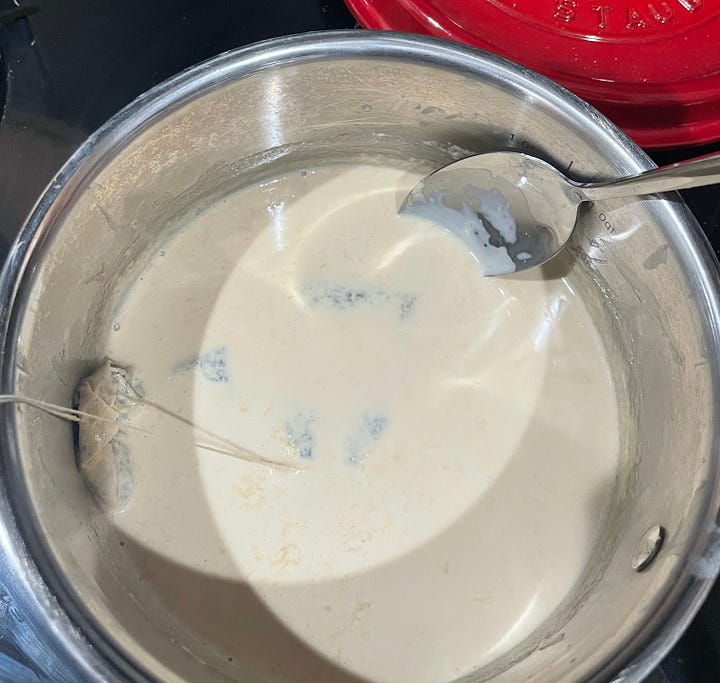
One minute versus five minutes of brewing the tea in the cream. Take the saucepan off heat, and take the teabags out of the cream. Set them aside. Once they cool down, you’re going to squeeze the teabags dry into the cream for maximum tea flavor. Add the vanilla extract and stir. Let the cream cool. At this point, position an oven rack halfway and preheat your oven to 300°F, or about 150°C.
While the cream is cooling, add the egg yolks and 1/4 cup sugar to a bowl. Whisk everything together until the mixture is much paler and thicker, about 2-4 minutes of whisking. At this point, begin boiling around 6-7 cups or 1.5L of water, enough to fill a 9x13 baking pan halfway.


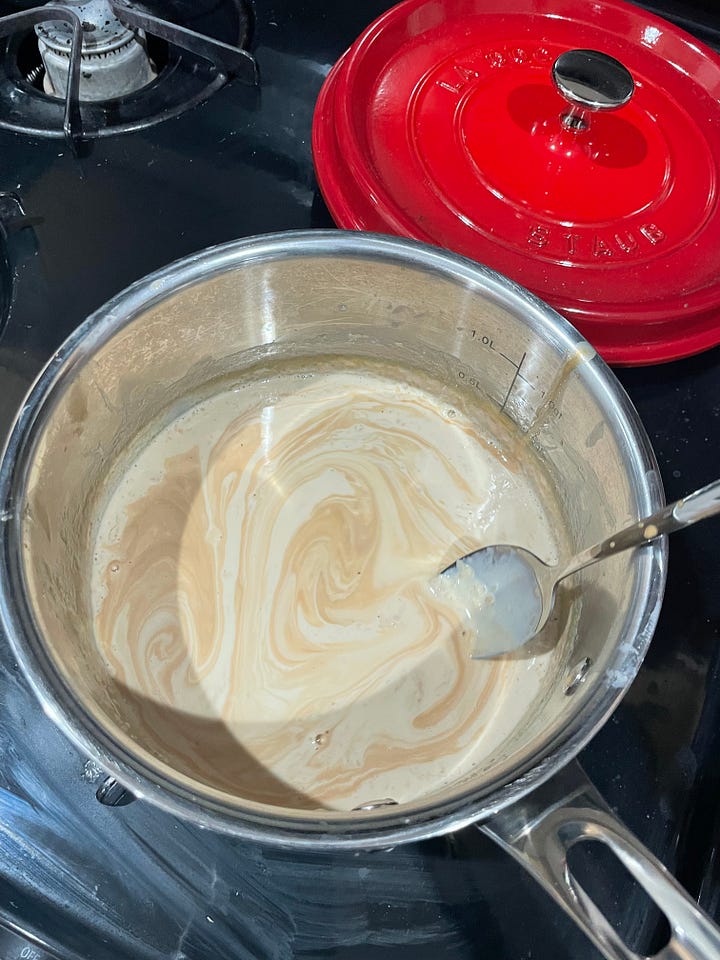
The mixture should be runny in the beginning, and should thicken enough to stick to the whisk by the end. Squeeze those teabags into the cream mixture, and discard the used bags. Take the strainer and set it over the bowl with the egg mixture. Slowly pour the cooled cream through the sieve. Make sure it’s cooled enough that you can touch the saucepan! Otherwise, you’ll cook the eggs and make Earl Grey scrambled eggs. Yuck. Unless you like that, in which case good for you.
But for the rest of us sane folks, after straining, slowly mix together the egg mixture and cream until they’re combined. Going slow means fewer bubbles in your custard, which prevent it from looking weird after baking.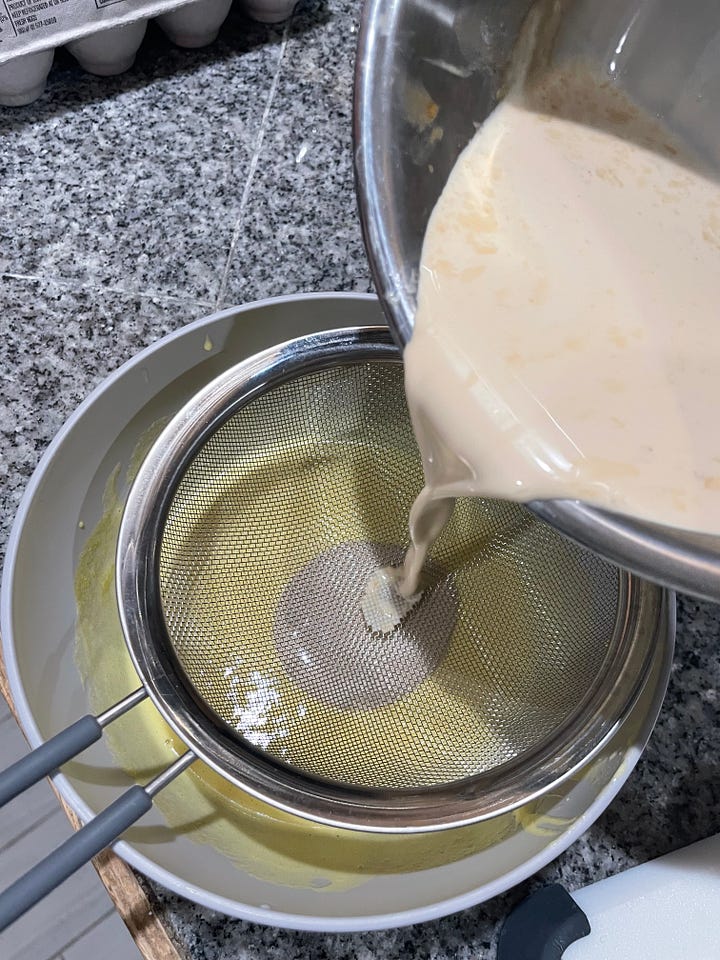

Straining the cream makes a smoother custard. Pour your custard base evenly between the two ramekins, making sure to leave a bit of room at the top. Tap the ramekins on the counter a few times to pop any air bubbles that may have formed on surface.
Place a paper towel in the middle of your 9x13 pan, and place the two ramekins on it. Pull the middle rack out as safely as it can go, and put the 9x13 on the rack. Once your water from step 3 is boiling, carefully pour the water into the 9x13 pan, avoiding the custard. Make sure that the water reaches at least halfway up the ramekin. We’re slow-cooking the custard by making a bain-marie, since we don’t want to accidentally make scrambled eggs in a cup.
Slowly push the rack back into the oven, and bake for about 45 minutes. If you have a shorter ramekin, it might take only 30 minutes. Keep an eye on the custard - when it’s done, if you jiggle it, the middle should move slightly while the edges stay set.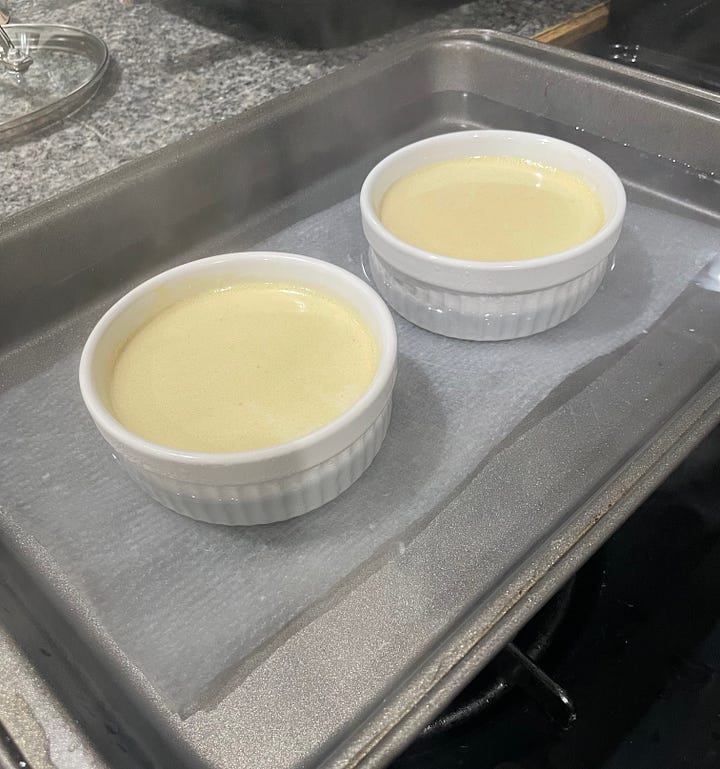

The bain-marie contraption. Note the line of water reaches halfway up the ramekin - this is essential. Take the pan out of the oven, and set aside to cool for about 10-15 minutes. After the initial cooling, take the ramekins out of the bain-marie and cool on a wire rack or cutting board for another hour. Cover the ramekins in plastic wrap and refrigerate overnight. I refrigerated for about 16 hours, but you can do less if you’re in a pinch. Just make sure they’re cold and fully set when you take them out. You can store them in the fridge for 2-4 days.

For the fastest cooling, place ramekins on a wire rack before refrigerating. Once you’re ready to do the brûlée part of the crème brûlée, take the ramekins out of the fridge and discard the plastic wrap. Lightly pour 1-2 teaspoons of granulated sugar on the top of ramekin, making sure to make an even layer on top.
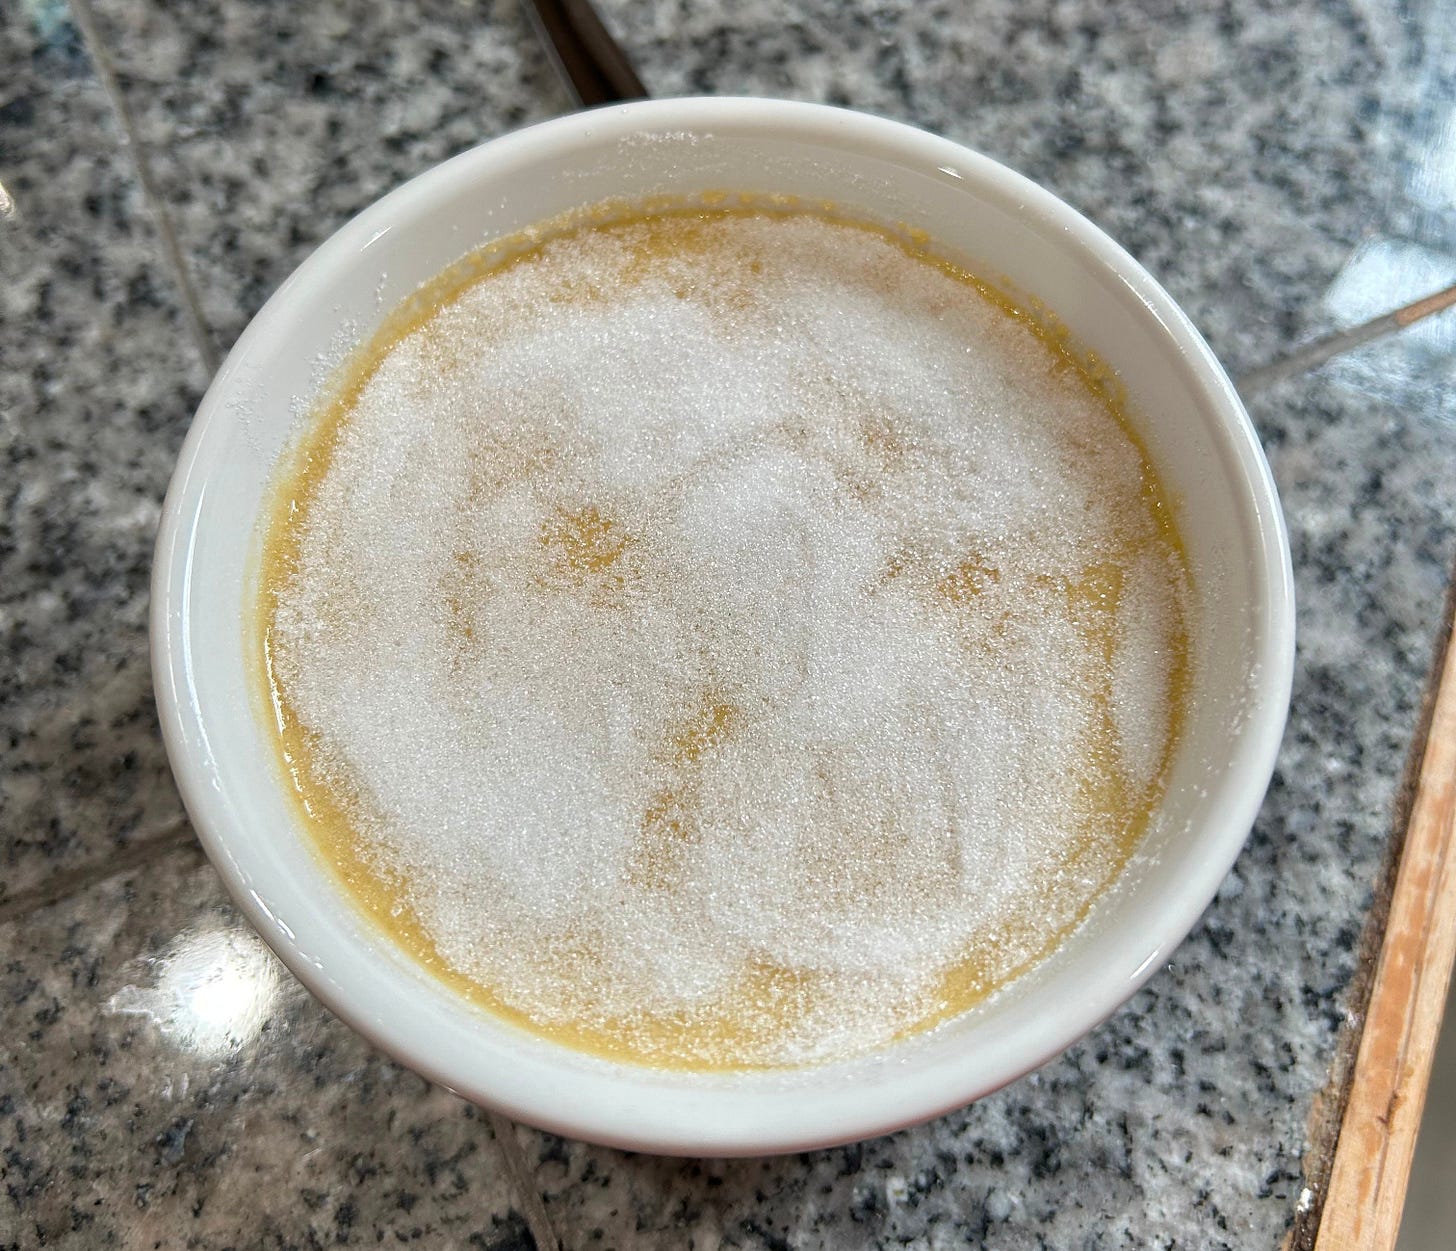
As even a sugar layer as I could manage. But perfection is overrated and sugar tastes good in all forms. I don’t own a crème brûlée torch because I didn’t want to buy a whole new kitchen tool for a single recipe, let alone a torch, so we’re using the broiler method. If you have a torch, please use your torch to your heart’s content. I’m sure that if you own a torch you don’t need me telling you how to use it, but if you do: torch the top layer of sugar until it is browned.
For the non-torch-havers, we’ll use our broiler. Set the broiler to high, and place your ramekins underneath, always keeping the door slightly open to allow venting and to keep an eye on the caramelizing process. Check once you start to see bubbling, and stop if it’s beginning to smoke.Turn the broiler off, and set the ramekins aside to allow the tops to harden. If you want, you can repeat the process one more time for a thicker and cracklier top. Otherwise, let the tops cool completely before serving, about 30 minutes.


And that’s it! It’s a super easy recipe as long as you follow the steps, especially with the strainer and the bain-marie water level. You’ll notice that the custard is much darker - one might say greyer - than your average crème brûlée. The tea should be the foremost flavor, and the vanilla balances it out with a hint of sweetness. And if that sweetness wasn’t enough, we have the literal layer of sugar on top.


I hope you enjoyed this recipe, I had a lot of fun developing it (and some consternation figuring out my gas oven’s broiler situation). I am currently jet-lagged from flying back from Iceland a few days ago - my body woke me up at 5:30am and refused to let me fall back into the sweet embrace of sleep. To be clear, I have NO regrets at all about Iceland - it was once of the most unique and beautiful places I’ve ever been to. See my note here on the first half of the trip.
And a final update on The Iliad - I have finished it, and needless to say I don’t want to read another description of men murdering each other ever again. I need a nice palate cleanser, probably a cozy fantasy novel or a good biography. If you’re curious about what I’m reading, my Goodreads is here.
Have a fantastic day!
These look incredible!
This was a delightful post. And crème brûlée is a favourite here. Will be trying this version next time. Fabulous!